Here are some photos from my classes at Mrs. O'Leary's in Wichita, KS. It was titled "Weekend with the Royals" and we were served tea and scones in the morning. The scones were to die for!!
The first class was the solder crown. Melody and Lora took all of my classes that weekend. I was very grateful to them for that. I am mailing them a little gift tomorrow. I will post about it later. I don't want to spoil their surprise!
This is Mary and Ronda (painted the windows in previous post) and I caught Melody on the run. Mary works at the store.
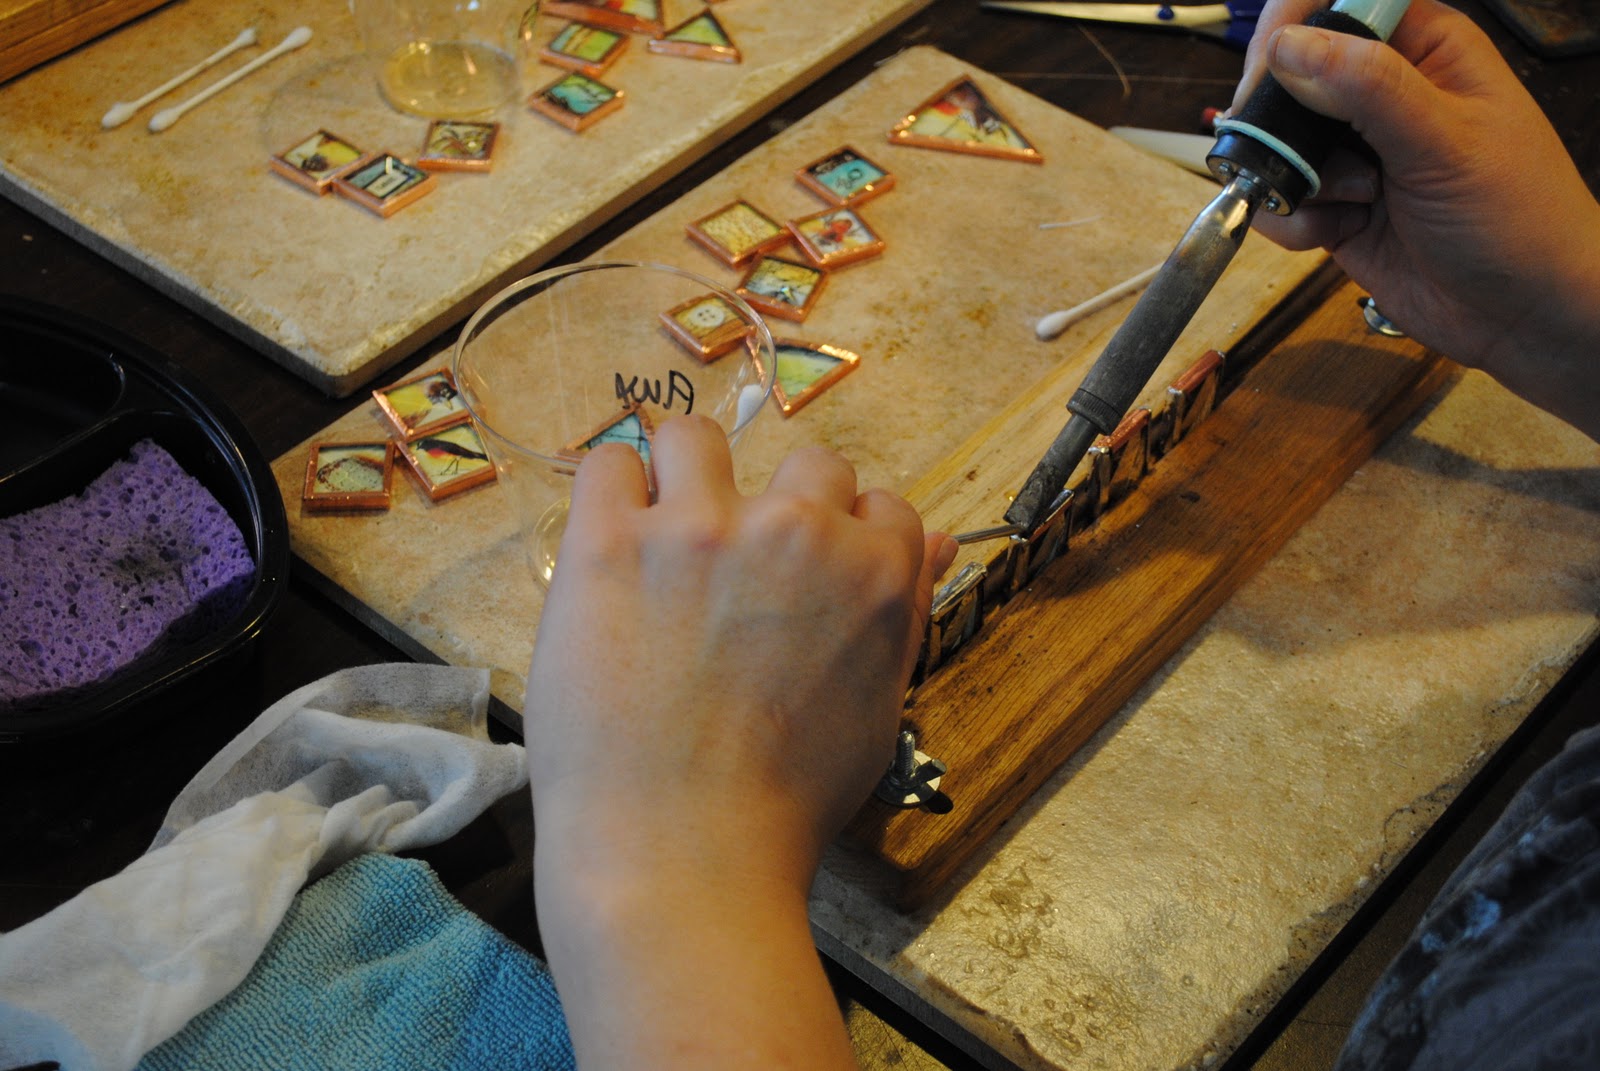
This is a cool tool that Joni (owner of store) has come up with for soldering the sides of the charms. You solder the front and back first then place the charms in the tool to do the sides. Makes things go quickly! I have one but have not used it yet. Need to get that thing out!
Ronda the Queen came with her tiara on! She is so funny! Everyone finished putting their crowns together in class. When you have a finished project it makes the class soooo much better!
This is Lora holding her finished torch pendant from class. This class was intense so I failed to get any pictures during class. I was worried about this class having not taught it before but each student did a fabulous job with the torch and their piece of metal. No one scorched their metal!! YEA!!!
Sunday morning I taught the wool felt crown class. This class is relaxing since we are doing some hand stitching. Again, I need to thank my friend Jeanne for letting me teach this class. She is a wiz on coming up with projects!! I had the most students in this class!!!
The students all working away on their crowns.
Jeralyn is concentrating on sewing her two pieces of felt together to make the crown shape.
Bottom part done. Now just to sew on the pearls and seed beads. And add the rhinestones. Must have those rhinestones! They add so much sparkle!
The shadowbox class was in the afternoon on Sunday. Not sure who this piece belongs to.
Melody, Melissa, Lora, Kathy, and Dana working on their collages. Some of them wanted to add their own family photos to the houses. I thought that was a great idea. Melody even bought extra kits for other family members to do. What a way to share.
We did a different technique on the background of each house. Then added some decorations and a person with a crown of course. It was a royal weekend ya know? Lots of crowns going on!!
Almost complete!
This is Jan. She came in to the store to shop and I just had to get her photo! There was a steampunk event going on around the city in different places and she had been attending one of them. She was so cute all dressed up! Loved the watch jewelry she had on her shoulder.
On to the Hobby Lobby tour!!! I was fortunate to get to go by the Hobby Lobby headquarters in Oklahoma City on my way up to Kansas. I have been doing cards for their House Mouse stamp of the month program for a few years now. I had never met my contact Jennifer before and was excited about doing so. We had only spoke on the phone once or twice and mostly had contact by email. So it was great to finally get to meet her! She heads the E commerce website and House Mouse program.
Steve is head of the stamp, beads and paper departments. He was generous and gave us the tour of his departments. The photo above is of the three of us.
I can't tell you how interesting and enjoyable the tour was!!
The two photos above are of only one of the buildings. There are four!! They are like half a mile long!! And so clean you could eat off the floor!! And I have never been in a warehouse that is not cold. The temp was perfect. Lots going on inside too! Fork lifts coming and going! Steve's area is around 40,000 square foot. That is just his departments! So you can imagine how huge this place is!
The company makes signage and displays for the stores in house. That is a big undertaking, but a great idea on their part!
This is a display inside the offices showing the products they make and ship to the Hobby Lobby stores. They have been in business since 1972 and continue to grow. Currently there are 492 stores in 40 states. WOW!
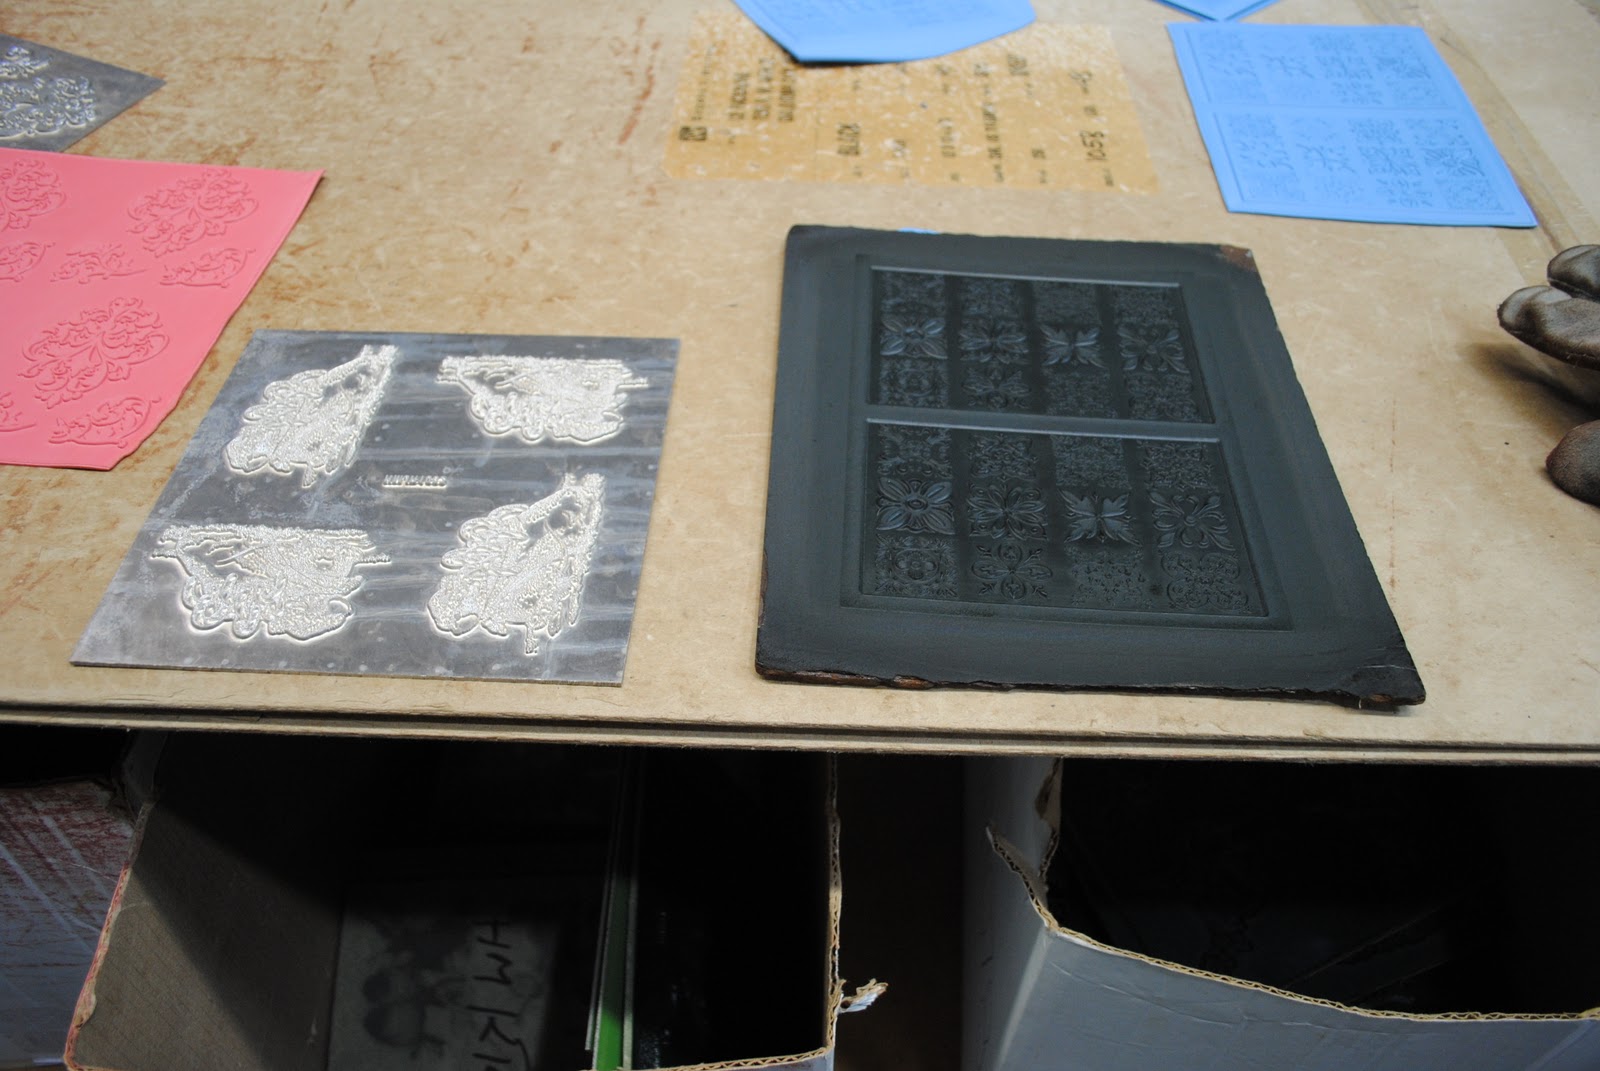
This photo shows the plate (silver deal on left) to make the matrix (black deal on right) for pressing the rubber to make the stamp. To make a stamp they purchase the plate then use it to make several matrix of the same image. When using the matrix you have to let it cool between pressings to not damage it. So having several of the same images is time saving.
This is the vulcanizer. The big guy that presses the rubber!! They have six of these guys. Two were in use when we were there. If I remember right the vulcanizer is set between 307 - 317 degrees for 10 minutes to make a stamp. So the matrix with the rubber attached is really hot when it comes out!
Working the vulcanizer.
This man just took these stamps from the vulcanizer. See the gloves he is wearing. They are welders gloves that protect his hands from the heat. They make anywhere from 3000 - 5000 stamps a day!!
This is a roll of cushion. After the rubber is pressed into stamps it goes to this area for adding the cushion to the back of the rubber. The roll starts out at about 16,200 square inches of cushion and looked to be about a yard long.
Next it goes to this area where the stamp is die cut out of the rubber. Using specially made dies for each image it is put into this orange machine. The machine puts a lot of pressure on the die and the stamp is cut from the rubber and cushion intact. There are smaller hand presses for the smaller image stamps. The orange ones are hydraulic presses.
Look at all this rubber!!! I am in heaven!!
These ladies are in charge of labeling and attaching the stamp to the wood. Lots of hands on here!!
The label gets applied to the wood block first, all by hand. Can you imagine? I would have thought a machine would do it!
After the label is applied the stamp is attached to the wood block. Again by hand!!
These are the labels for the 2012 House Mouse stamps. Waiting for their wood block!
I am going to have such fun this coming year designing cards for these stamps! There are some really cute images!
This person was on break I think but they are packaging beads. Again, all done by hand. They count out the number and put them in a bag then staple the topper card on. These are swarovski crystal beads. Beautiful!
They were not producing clear stamps the day we were there, but this is the image used to make those kind of stamps. It's a negative per say and a cold process is used with it. So a hot process for
making the rubber stamps and a cold one for the clear. Pretty cool.
The negatives are stored in these tubes for safe keeping.
This is the machine that makes the clear stamps. Liquid polymer is used to make the stamps.
Look at all this cardstock! All nicely stacked and count out.
This machine counts and correlates the paper into those neat stacks. The big stacks of paper you see in the photo above are placed on the shelves of this machine, then it gets counted into stacks of 50 and stacked up for going to the packaging department.
Here is the cardstock being packaged into clear plastic.
Then it gets labeled and put into a box for going to the warehouse for stock, or going to a store as an order.
There are reports to tell Steve if he is low on something in the warehouse. He has someone that picks a department each day to do inventory in. They are on top of what they have in stock at all times! He is supervisor over 29 employees and they are in to work by five or six o'clock in the morning and done by two - two thirty in the afternoon. Wouldn't you love that job? You would have the rest of the day to enjoy! A lot of the employees are long time ones and have family members working along side them. It says a lot about a company when the employees have been there for years and recommend it to their family.
Both Mary and I were so impressed with this company. I want to thank Jennifer and Steve for taking time out of their day to give us the tour. We only saw a small part of what all happens at the facility, but hope to see more at another time.
Enjoy your week and thanks for stopping by.

 Remember in a previous post I sent gifts to two of the students that took all my classes at Mrs. O' Leary's? Well here is what I sent them. These glitter snowflake ornaments I made. I hope they liked them!
 These are my swaps for one of my art groups. I used dies to cut out felt ornaments. Stitched and stuffed them with poly fill. I sewed on beads and pearls or used stickles on them and added a seam binding ribbon hanger.
 This was one swap I got from Joyce. Very elegant! It took some time to stick all those pearls on!!
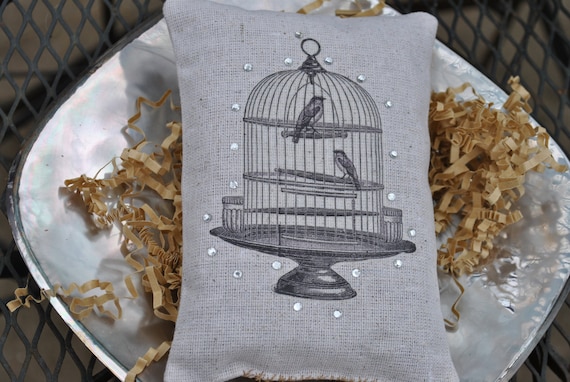
 This is Mary's swap. She purchased the metal sign but stamped JOY on it and added the rhinestones on the left and the bird on the right. Very cute!
 This is Rosalyn's swap that I received. Didn't know she had a hidden talent in ceramics. Love it!
 This was the project I taught the group to make. Using pipe cleaners and wire for the orb shape then added glittered floral pics, tinsel and an ornament to complete it. Last year I learned how to do this at my other art group. I think I posted about that one in November of last year.

 My other art group met last Sunday and we made these houses. Suzy did a great job teaching us. They were a lot of work but so worth it!! They even light up but you can't see it from the photos. They have glitter on them too!! So they really sparkle!